Fencing our home, gardens, or any other area is challenging when you combine different parts with nails and hammers. But nail guns have changed the scenario; now, fencing has become very easy. For better fencing, you need proper guidelines to use a nail gun. You may find many nail guns, but try to choose the best nail gun for fencing and follow the simple guidelines about using it perfectly.
Ways to use a nail gun for fencing
Here are easy tips for using a nail gun for fencing.
Step one
First of all, choose the best nail gun for fencing; never compromise on quality if you want a smooth fencing experience. You also need to arrange all the required materials for nailing the fencing to make your work smoother. Never forget to wear safety gadgets.
Step two
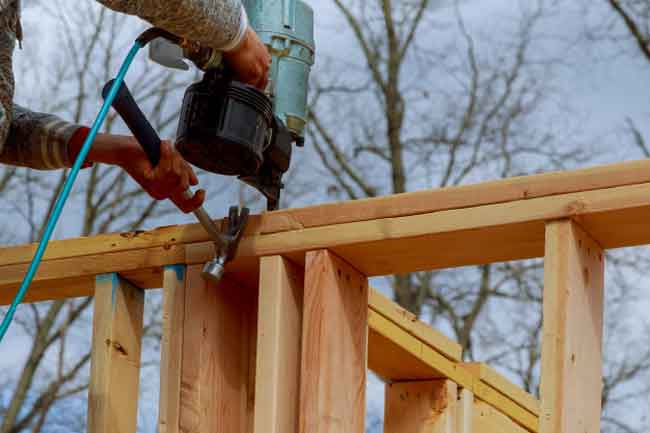
Now prepare your nail gun for the work; first, connect it with the power source. It is better if you have a power source near the fencing area; if the fencing area is far, you should use a cordless nail gun.
Step three
Once you have connected the nail gun with the power source and load the nail gun with nails, different nail guns have other ways to load, so if you are new, then read the manufacturer’s instructions to load the nail gun. But make sure that you have properly loaded the nails; it will reduce nail jammed risk.
Step four
It would be best to do your work; using a nail gun for fencing is not a tough job, but it is essential to learn the firing method for proper functioning. There are many ways to fire the nails against the surface.
Contact is the way that allows you to drive a nail whenever you contact the safety tip against the fence surface and keep the trigger held down.
Single sequential is the way to fire where you will need to apply pressure against the fence surface, and then you will pull off the trigger. In this way, you can hold the gun in the same position and move forward by firing repeatedly.
Actuation is a pretty easy way to do the same as in a single sequential method, but you will need to do contact first and then follow the technique like single sequential.
Step five
You can choose any of the above which you find easier. Choose the technique that fits your job, and you also feel comfortable. It will increase your efficiency, trust, and confidence, and you will finish your job quickly and efficiently. But choose the safe method because there is no price for your safety.
Step six
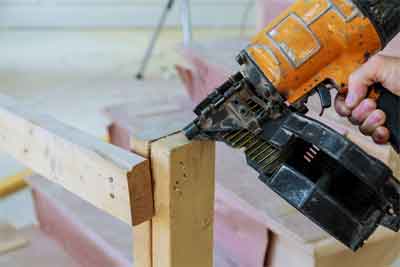
Once you have chosen the right method of firing, and then do not go in a hurry to use it for fencing. Your fencing project is costly, and you do not want to spoil it, so before setting at your work, practice the method for some time on the raw surface. Once you feel you are doing it right, then go for firing on the fence.
Step Seven
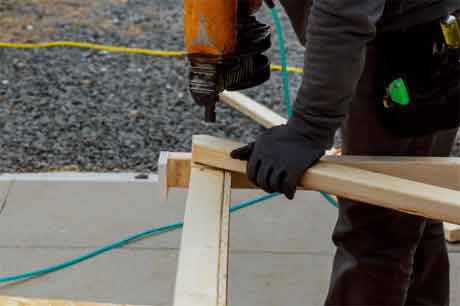
Now set for your work, but when firing, keep your arms extending and try to make a difference between the gun and your body to perform your task with safety. But if you feel your gun show kickback, then go a little closer because the kick backing of the gun will tire you. Only pull the trigger when you ensure you have set the safety tip in the right place. Follow that way and complete your job.
Final Thoughts
Nail guns make our fencing projects very easier, and now you can do it yourself after getting the best nail gun for fencing. But you also need proper guidelines to use the gun in the right way to get a quality fencing experience.